I first straightened the angle of the arch as it was slightly crooked. Then I cropped a bit off the top and bottom. Next I cloned out the ugly dark tree at the top. I brushed in a cloud on a new layer, erasing back the overlapping parts. After that I did a curves adjusment layer with an S curve to brighten midtones and darken for contrast. I erased back the sky on that layer to keep it a deep blue. Next I opened a levels layer and brightened everything way up so the reflections became much clearer and erased back everything but the water. The last adjustment layer was a hue/saturation. I bumped the master saturation by 20 and the reds by another 10. After I flattened, I spot healed a lot of the fallen leaves in the water. The last thing I did was USM.
August 10, 2008 - 6:54 AM
A photoshop Before & After
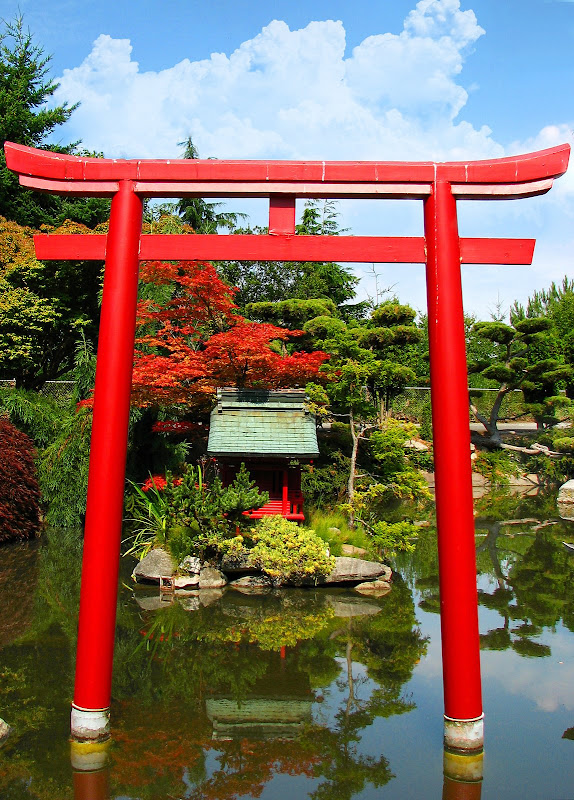
I really liked this image, but I was out shooting with my husband who is less than stellar in the patience department. I didn't have time (or a tripod) to set up this shot exactly like I wanted it. The original is too dark, the archway isn't straight and there's an ugly tree at the top (which I couldn't have helped anyway).
I first straightened the angle of the arch as it was slightly crooked. Then I cropped a bit off the top and bottom. Next I cloned out the ugly dark tree at the top. I brushed in a cloud on a new layer, erasing back the overlapping parts. After that I did a curves adjusment layer with an S curve to brighten midtones and darken for contrast. I erased back the sky on that layer to keep it a deep blue. Next I opened a levels layer and brightened everything way up so the reflections became much clearer and erased back everything but the water. The last adjustment layer was a hue/saturation. I bumped the master saturation by 20 and the reds by another 10. After I flattened, I spot healed a lot of the fallen leaves in the water. The last thing I did was USM.
Before
After
I first straightened the angle of the arch as it was slightly crooked. Then I cropped a bit off the top and bottom. Next I cloned out the ugly dark tree at the top. I brushed in a cloud on a new layer, erasing back the overlapping parts. After that I did a curves adjusment layer with an S curve to brighten midtones and darken for contrast. I erased back the sky on that layer to keep it a deep blue. Next I opened a levels layer and brightened everything way up so the reflections became much clearer and erased back everything but the water. The last adjustment layer was a hue/saturation. I bumped the master saturation by 20 and the reds by another 10. After I flattened, I spot healed a lot of the fallen leaves in the water. The last thing I did was USM.
Subscribe to:
Post Comments (Atom)
0 comments:
Post a Comment